How to Arrange Photos on Staircase Walls
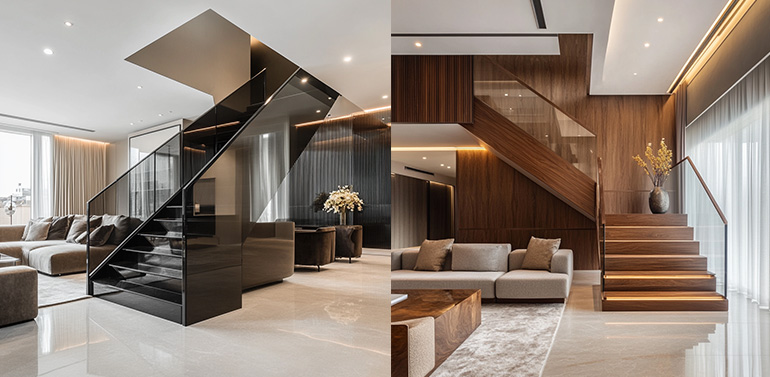
Arranging photos on a staircase wall enhances your home’s look and makes your space stand out. It is more like adding a significant style statement to the home and creating an impactful gallery space. Let us dive in and understand how you can arrange pictures on the staircase walls and achieve a visually appealing gallery. Reads tips on how to arrange photos frames on staircase walls. Here are some amazing ideas for arranging pictures for your stairway.
How to Arrange Photos on Staircase Walls
Here is a breakdown of steps to how to arrange photos or picture frames on your staircase walls seamlessly.
- Select Right Theme & Layout – Decide what you want to display. Choose the right theme such as your solo trips, black and white prints, family travels, some celebrations etc. After that work over the layout as well such as:
- Linear Arrangement – Frames in a straight line or a diagonal line to be precise.
- Salon Style/ Collage – Mix and match with various sizes giving an asymmetrical look.
- Grid Pattern – Can be centre, corner or any style giving a clean, modern, and symmetrical look.
- Gather Materials – Before you start arranging the photos, make sure you have all the necessary materials such as measuring tape, marker, hammer nails, frames, level, and laser liner etc.
- Measuring Space – Using a measuring tape make a note of all the space available for the wall. Note them down on paper, as these will help you get the best possible arrangement for your photo frames. If the walls are narrow, placing pictures may not be possible. You may consider adding pictures only at the start and end of the flight. Alternatively, you may consider adding mirrors to the walls as they create an illusion of more space.
- Plan the Arrangement – Now, the best way to achieve a flawless arrangement is to lay down the frames on the floor first. For more accurate perspective, mimic the incline of the staircase and then plan the frame arrangement. Note down the spacing between frames and the arrangement.
- Do the markings – Now mark the desired layout on the wall before drilling. Keep the centre of the arrangement and the picture at eye level. From each stair, the centre should be around 145-160 cm for the best viewing angle. Also, maintain a spacing of 2-4 inches between frames for a cohesive look. Adjust the angles based on the incline of the staircase.
- Consider Lighting – You may install picture lights or spotlights to highlight your gallery wall. Make sure that the shadows do not obstruct the images. Track lights or sconces can also be installed for a more beautiful look.
- Start Hanging & Securing – Use wall anchors or command strips to secure the frames safely. Start hanging the frames from the centre and start moving outwards. If using nails, ensure they are positioned at a slight downward angle for a better grip.
- Make the Final Adjustments – After you have completed handling all the photos, just step back, review them and make the necessary adjustments. You may do this while doing the work as well to avoid a huge rework if anything gets misaligned.
Bottom Line
That’s it. So these are some of the brilliant inspirational ideas or suggestions on how to arrange photos on staircase walls. Step back and admire the beauty. This truly reflects your style and individuality. Looking for beautiful staircases that accentuate the aesthetics of your space and take your home aesthetics to a new level, contact Regal Stairs today.
Related Posts
Guide on How to Measure a Straight Staircase
How to Measure a Straight Staircase – Measuring a staircase can be tricky. If you are looking to measure your stair…

Tips To Choose Perfect Staircase
Tips to choose perfect staircase – Do you need a new staircase but are confused about which one to choose? Today…
Want a Staircase You’ll Love Forever?
We’ll help you create something amazing and unique. We Promise!